Introduction
This project was completed as part of my electronics class during the fall semester of my junior year at Tufts. The project requirement was to create an electromechanical game that included some user input using an electronic device and moving mechanical elements controlled electronically. I decided to build a small goalie robot that could rotate his arms to block shots on a soccer goal.
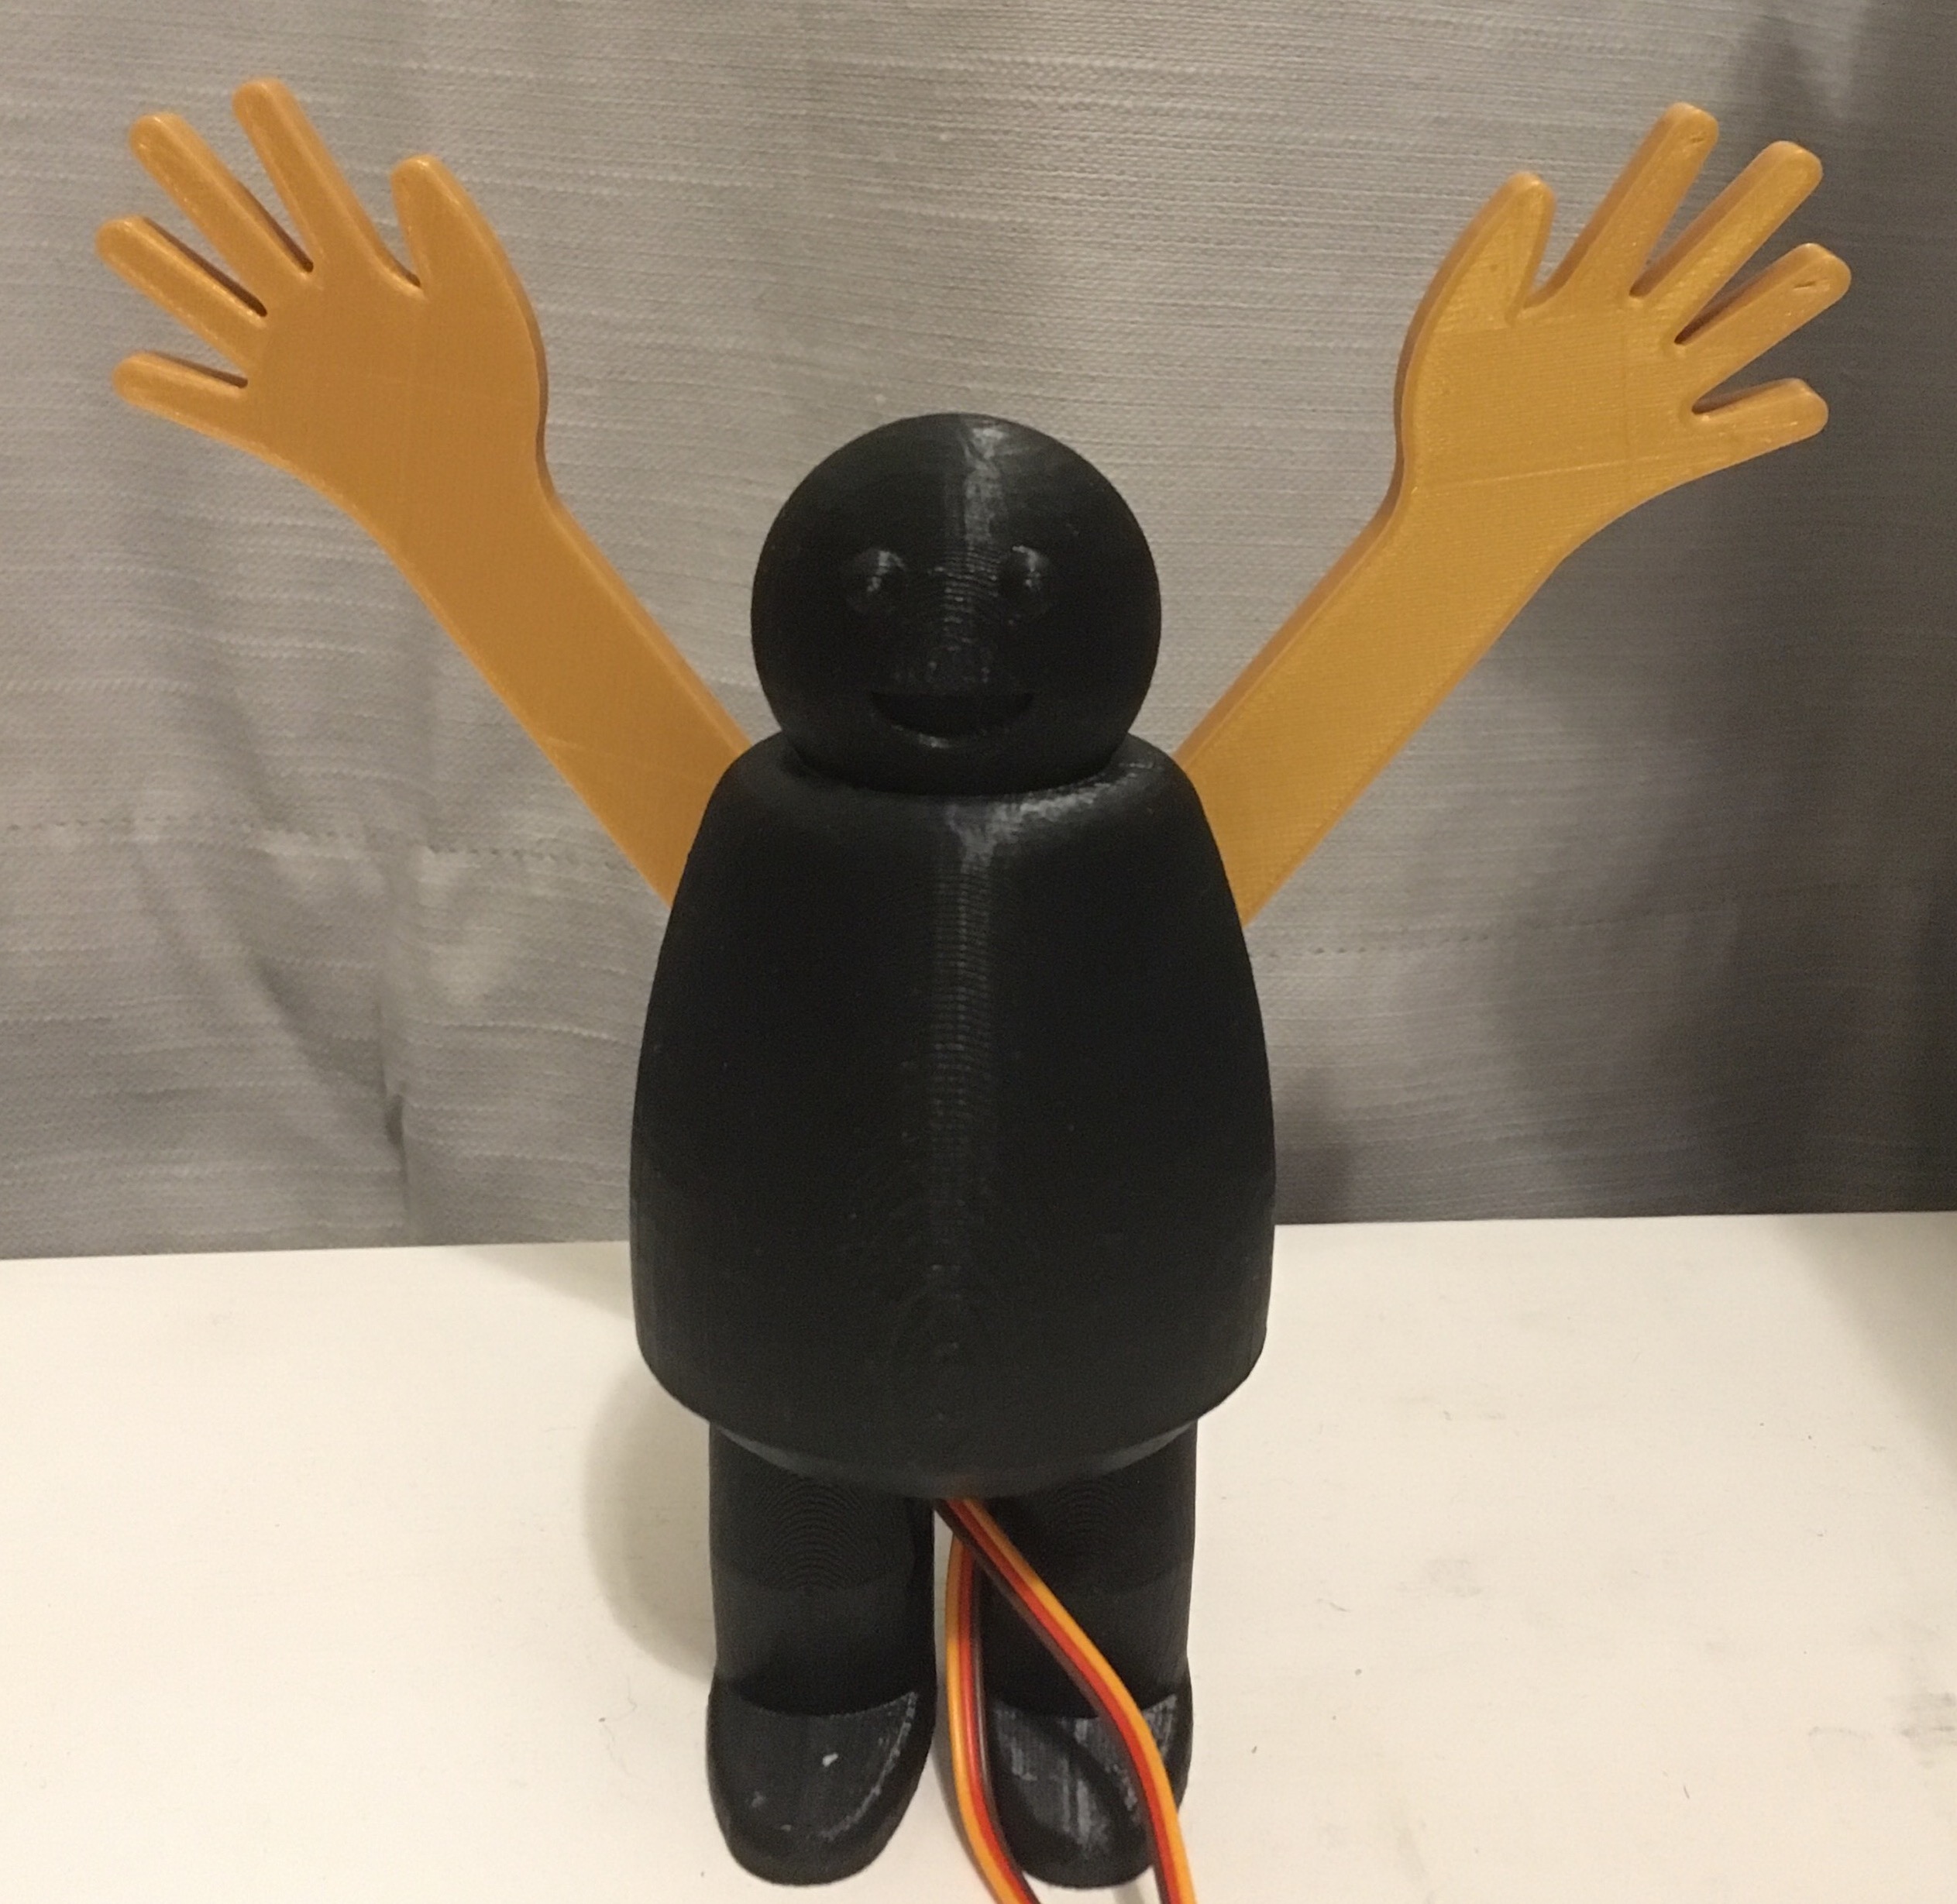
Howard, the Goalie Robot
Design
The electronic inputs used in this design include:
- 2 Buttons: One for each arm. Clicking the button sends the corresponding arm of the goalie to its fully raised or fully lowered position alternating between button clicks.
- 2 Trimmer Potentiometers: One for each arm. Twisting the knob of the potentiometer allows for gradual adjustments in the positioning of the corresponding arm of the goalie.
Download Arduino Code Here
The mechanical outputs used in this design include:
- 2 Hobby Servo Motors: One for each arm. The motors had a full range of 180 degrees, but only a range of 80 degrees was used for the robot since the long goalie arms would otherwise have hit the ground.
Goalie Robot Mechanical Design
Challenges
Without access to a set of calipers, I tried using my ruler to measure the dimensions of the servo horn I was using which was not nearly as precise. Additionally, I wanted to hook the servo horn into place on the arm, placing even more stringent requirements on the interface dimensioning. Through trial and error I arrived at an arm design that allowed the arm to be easily attached but also well secured to the servo horn. As an additional safeguard against the goalie arms falling off when blocking a shot on goal, I added some adhesive putty at the interface between the arm and servo horn. I also used some of this adhesive putty at the goalie's feet so that he wouldn't fall over.
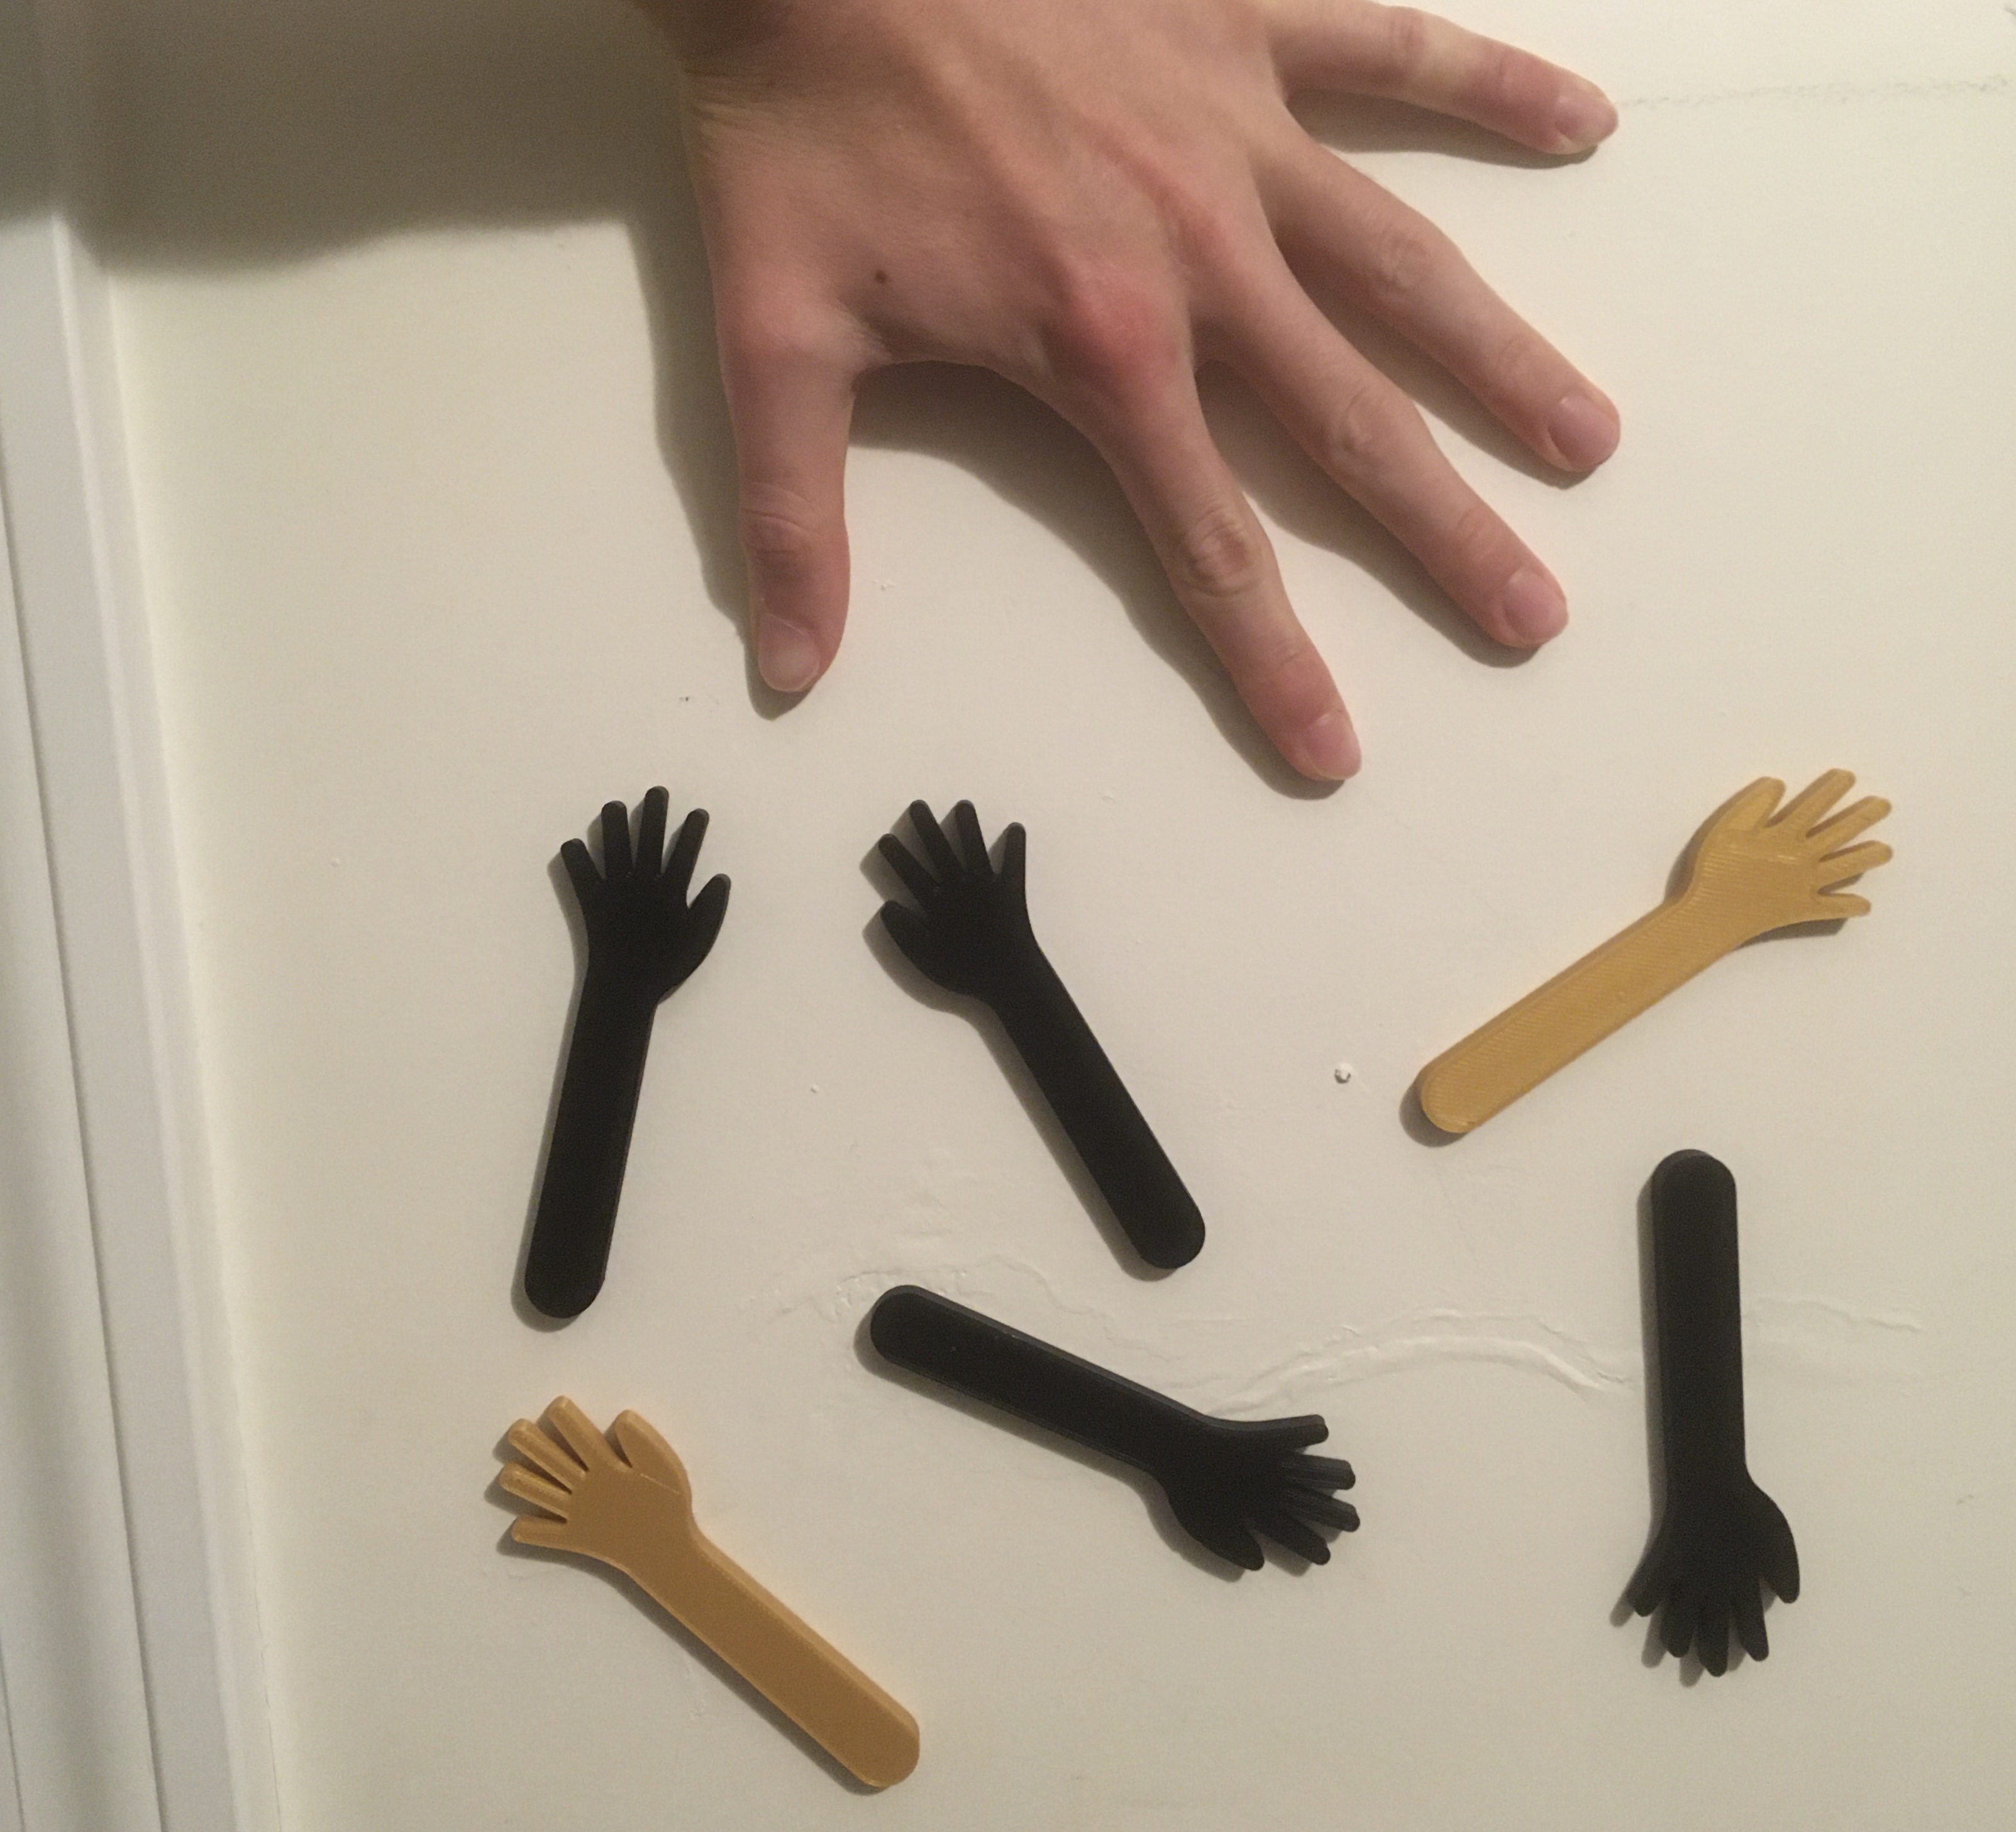
Failed Goalie Hands Along With My Hand
Final Prototype
After assembling the 3D printed robot parts with the servo motors, I wired together the circuit components on a breadboard and had a working prototype!
Demonstration and Explanation of Final Goalie Design